February 17, 2016
NIST scientists have devised and improved a prototype instrument the size of a loaf of bread that can substantially increase the accuracy of length measurements in commerce. Perhaps surprisingly, it does so by achieving the most accurate measure of the refractive index of air reported to date.
An enormous share of U.S. industry depends critically on very precise dimensional measurements, frequently on the scale of nanometers (nm, billionths of a meter) or even smaller. Such measurements can only be made by using light, typically laser light, using a device called an interferometer which measures lengths in terms of the wavelength of light. For example, the diameter of a pinhead is about 2400 wavelengths of red light.
In vacuum, the wavelength is determined only by the frequency of the light, which can be controlled and measured with exquisite precision. But the vast majority of commercial dimensional measurements are made in air, where wavelength also depends on the refractive index* of the air, which is a function of temperature, pressure, and composition (particularly humidity).
Air decreases the wavelength of light by some amount around 3 parts in 10,000. Slight variations in that number might not seem significant. But for the nanometer-scale needs of modern manufacturing, they'rege.
So dimensional measurements have to be corrected to take account of the refractive index of air. Traditionally this has been done by measuring the air’s temperature, humidity, pressure, and CO2 content (with four separate instruments) and using those values to calculate a correction. That complicated method, however, yields uncertainties of a few parts in 108 – still an order of magnitude short of industry needs.
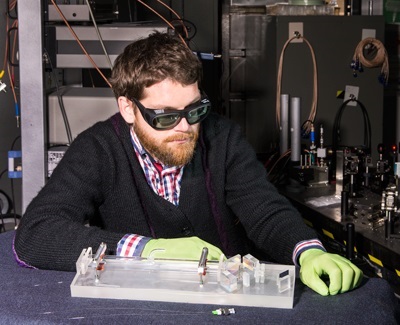
Patrick Egan with the MIRE.
That’s why Patrick Egan and Jack Stone of the Engineering Physics Division in NIST’s Physical Measurement Laboratory (PML) have been working for years on a way to measure absolute refractive index directly using an instrument called a Fabry-Perot (FP) interferometer, which is basically a cylindrical cavity with mirrors at each end.
First, all gas is removed from the cavity and a laser beam is sent in. Scientists measure the frequency of the resonant (standing) wave that forms in the vacuum. Then the cavity is filled with room air and the resonant frequency – which differs from the vacuum frequency by an amount that depends on the refractive index of the air – is measured again. The difference in the two frequencies is a measure of the refractive index.
Recently, in collaboration with PML’s Sensor Science Division, Egan and colleagues reported** design and fabrication of an FP device that could measure refractive index with uncertainties as low as 3 parts in 1010 – but only for very dry gas. At higher humidity levels, water permeates the mirror coatings, altering the apparent path length over which the light travels, and limiting accuracy to about 2 parts in 108, or almost 100 times less accurate than what can be achieved with dry gas. The relative humidity in a typical workplace setting is in the range of 40% to 50%, so the team set out to find a way to correct for the humidity effect.
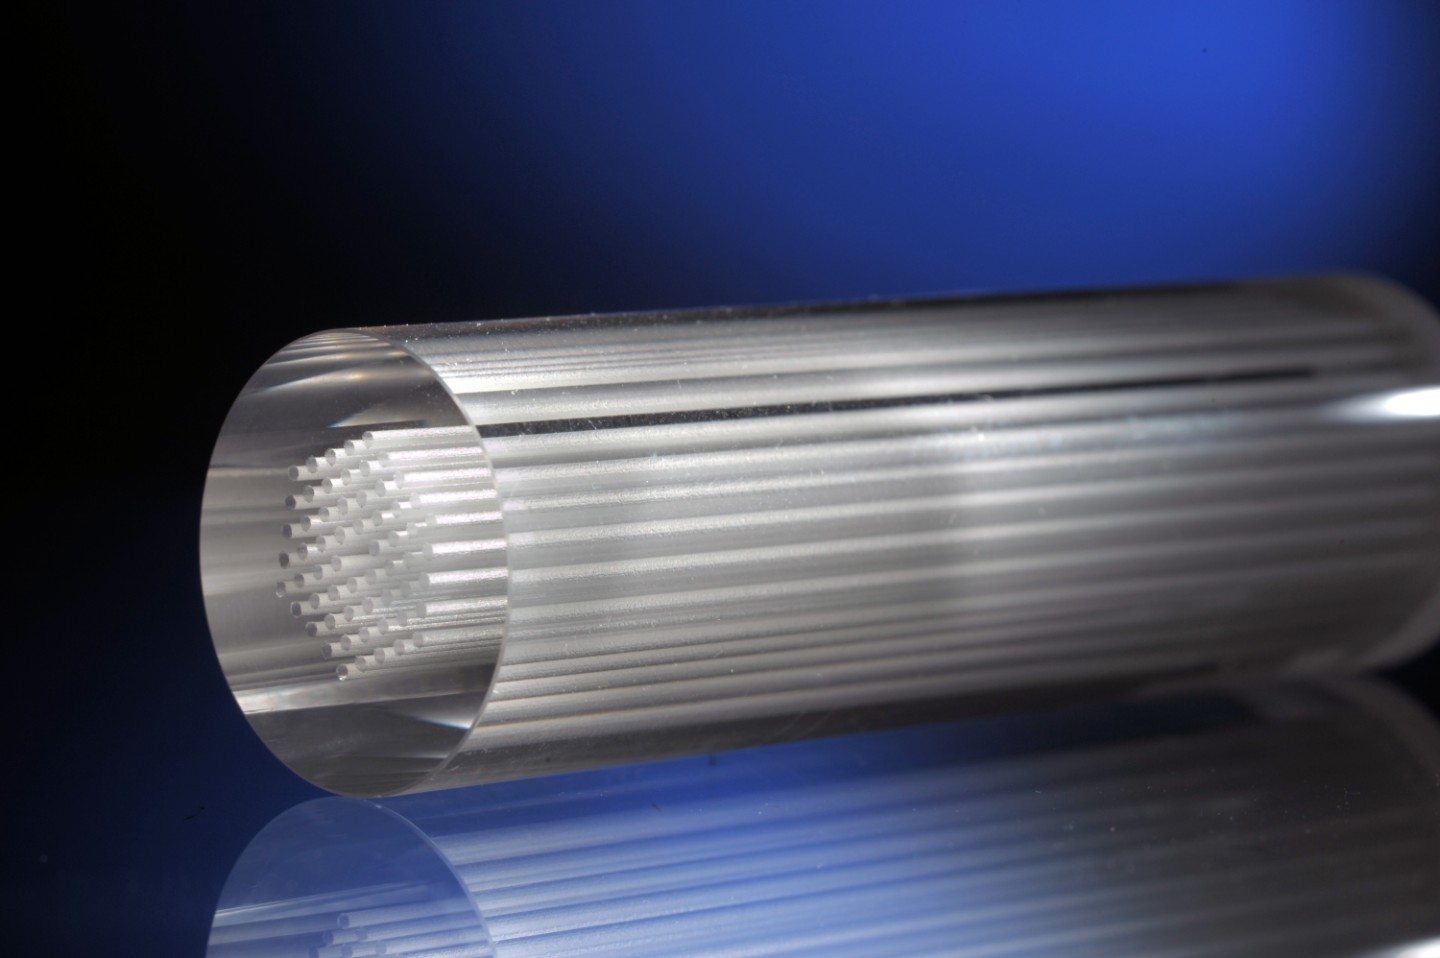
The result is a new instrument called the Monolithic Interferometer for Refractometry (MIRE) that is designed to run in tandem with the FP interferometer and correct for humidity effects. In the MIRE, two beams of laser light about 12 mm apart travel along two parallel routes of exactly the same length. One laser beam passes through the inside of a 25 cm long cell that is permanently held at vacuum.
The other beam travels outside the cell through air or another gas in which the humidity can be varied. MIRE measures the phase difference (relative alignment of the crests of light waves) between the vacuum and humid air paths. Because the gas cell’s uncoated optics are not susceptible to humidity effects, the phase difference provides a humidity correction for the primary FP instrument.
Apparatus of this kind is customarily constructed on an optical table, with the constituent parts screwed down tightly into the table’s stainless steel top. That’s not satisfactory for Egan. “The components are much too free to move around,” he says. “There’s too much slop in the system.” By which he means that components can “drift” (expand or contract and bend or tilt, changing the path length that the beam travels) over the course of many hours. Some labs get a 2 nm drift over that period. The best have something in the range of 100 picometers (pm, or one-thousandth of a nanometer).
Because of the innovating new design, the MIRE drifts by only 6 pm (about 2% of the diameter of an atom of iron) over the course of 10 hours, the length of time required to incrementally vary the humidity in the cell, let everything reach equilibrium, and begin the measurement cycle again.
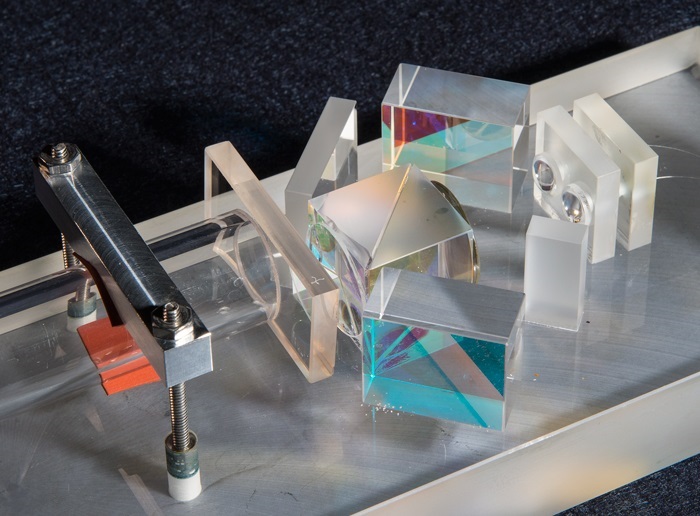
Its monolithic construction results from immobile fused-silica components bonded with hydroxide-catalysis to a rectangular fused-silica plate. Preliminary tests indicate that when the MIRE is used to correct for humidity change, the FP device can measure refractive index to an uncertainty of about 6 parts in a billion. Subsequent improvements may reduce that figure. The effect could be significant.
“For example, bearing manufacture is a billion-dollar industry in need of very small uncertainties,” says Dan Sawyer, Group Leader in the Engineering Physics Division. “If we measure a really large part, currently our uncertainty is limited by how well we can do the refractive index corrections. Patrick’s working on fundamentally reducing and removing that barrier. That can change the uncertainty on very critical, high-value parts.”
Jay Hendricks, Group Leader in PML’s collaborating Sensor Science Division, agrees: “There are many very precise measurements that have to be done in air, and there are also very precise measurements that have to be done when, say, you'reking semiconductor chips. To get the precision they need, chip-makers measure in a vacuum. But wouldnt be nice to take that precision out of the vacuum and put it on the factory floor where you can now do sub-nanometer precision in air?”

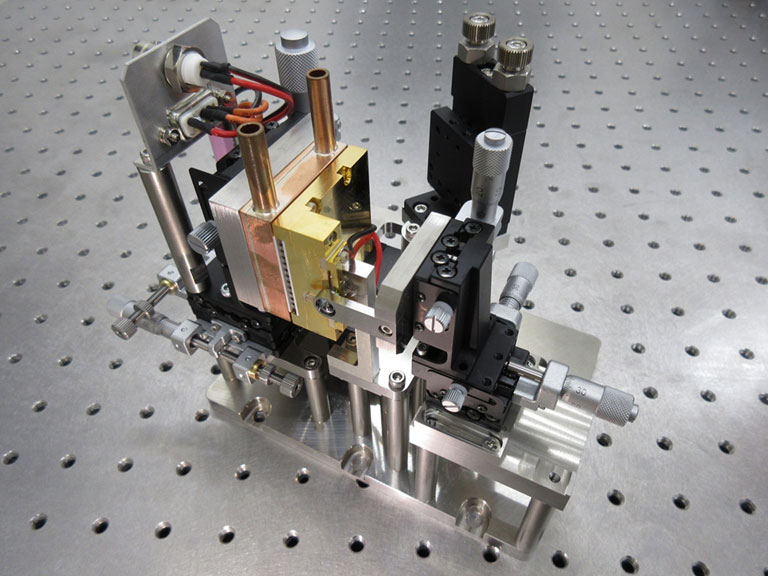
The MIRE components. Laser beams enter from the right side and proceed through the optics. The glass tube is evacuated. The rest of the device is open to ambient air.
* Refraction is the process that makes a straw in a glass of water appear bent. The degree of refraction (called the Refractive Index) is the ratio of the speed of light in a vacuum to the speed of the crests of light waves in a medium. The refractive index of air is around 1.000277, water 1.33, and diamond 2.419. That is, it takes light almost two and a half times longer to move through diamond than it does to travel the same distance in vacuum. This contributes to a diamond’s characteristic sparkle.
** “Performance of a dual Fabry-Perot refractometer,” Patrick F. Egan, Jack A. Stone, Jay H. Hendricks, Jacob E. Ricker, Gregory E. Scace, and Gregory F. Strouse, Optics Letters, 18 August 2015. doi: 10.1364/OL.40.003945
See also: “Absolute refractometry of dry gas to ±3 parts in 109,” Patrick Egan and Jack A. Stone, Applied Optics, 20 June 2011. doi: 10.1364/AO.50.003076

