15-07-2014
Chris Jones, Managing Director at Micro-Epsilon UK, discusses how the latest thermal imaging cameras and confocal displacement sensors are helping companies inspect a variety of electronic devices, circuit boards and MEMS.
Thermal management of electronic circuits
Manufacturers of electronic components and printed circuit boards (PCBs) are increasingly turning to non-contact temperature measurement systems to capture, analyse and optimise the thermal behaviour of electronic components and fully assembled PCBs. By using thermal imaging cameras – in R&D, new product development and high volume production – hot spots and defects can be detected quickly and reliably, without influencing the target object.
Detailed, real time analysis of the thermal behaviour of integrated circuits can be carried out using infrared thermal imaging cameras. These cameras are able to capture and store thermal video and images with high optical resolution at high frame rates. Camera detectors provide excellent thermal sensitivities (typically 80mK-40mK) enabling the camera to detect extremely small temperature differences.
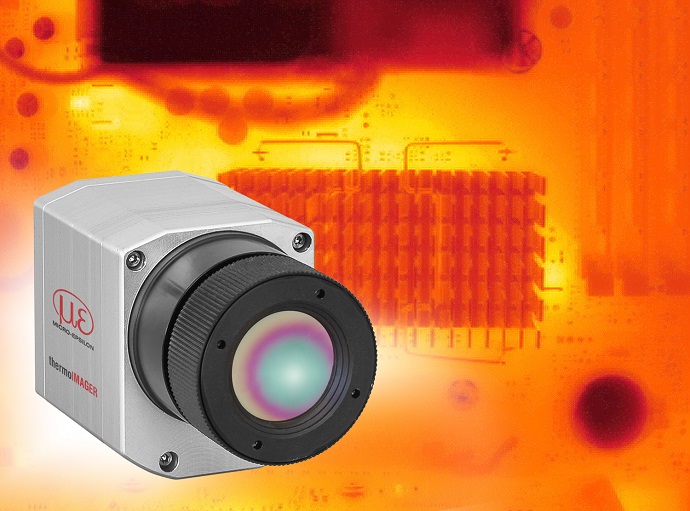
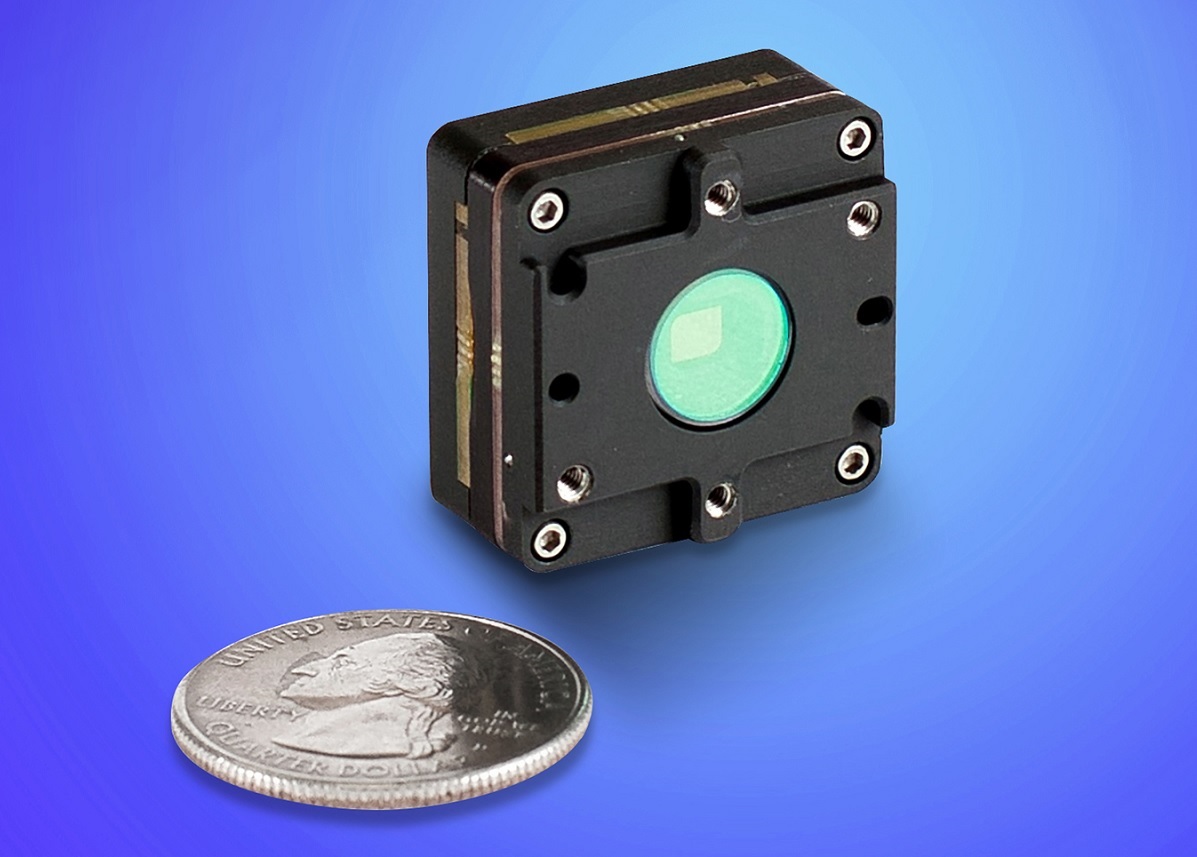
Micro-Epsilon’s latest thermal imaging camera, the thermoIMAGER TIM 640, is able to record radiometric video images at an optical resolution of 640x480 pixels and is the smallest VGA-resolution infrared camera available today. With dimensions of 45x56x90mm and weighing just 320g, compared to other similar-size cameras, the TIM 640 is the only camera that enables the recording of radiometric video images at 32Hz and a VGA resolution of 640x480 pixels. With a thermal sensitivity of 75mK, this camera can detect very small temperature differences. At ambient temperatures of between 0 and 50°C, the camera can measure object temperatures ranging from -20°C to +900°C. For easy process integration, the camera is supplied with the TIM Connect software as standard. This enables users to monitor and document measurements and to edit infrared video images. The software provides quick and easy set up together with a range of software tools that enable the cameras to be used in R&D tasks as well as process control.
A USB 2.0 interface allows video recording at 32Hz. This is highly beneficial for short term thermal measurement activities, which need to be analysed in slow motion playback. Individual snapshots can be taken from these recordings. Measurement points are freely selectable and can be analysed via user-defined areas of interest. Alarms can also be set up and displayed, as well as maximum, minimum and average temperatures.
The TIM 640 is supplied with an integral process interface for input and output of analogue and digital signals (alarms, temperature values, etc.). Open connectivity drivers are also provided for software integration via DLL, ComPort and LabVIEW, simplifying connectivity to fieldbus networks and automation systems.
Dimensional measurement of MEMS
MEMS (Micro Electro Mechanical or Micro Electronic Systems) is the technology of very small devices. MEMS typically comprise of components between 1 to 100 micrometres in size. Normally machined from silicon, MEMS usually consist of a central unit that processes data (the microprocessor) and several components that interact with the surroundings such as micro-gears and micro-sensors.
Fabrication of MEMS evolved from the process technology used in semiconductor manufacturing. The basic techniques are deposition of material layers, patterning by photolithography and etching to produce the required shapes.
The latest confocal chromatic sensors offer extremely high sensitivity and sub-micrometre resolution, providing significant advantages when it comes to inspecting the shape and size of MEMS structures during or post-production. These sensors can be integrated to linear X-Y stages, machine tools or special purpose inspection systems.
IFS 2405 sensors from Micro-Epsilon, for example, are designed for measurement tasks that require maximum precision – particularly electronics R&D and production, as well as semiconductor manufacturing. As well as distance measurements on reflective and transparent materials, the sensors can also be used for one-sided thickness measurement of clear film, printed circuit boards or layers. The maximum resolution of these sensors is 0.01µm and maximum linearity is 0.3µm.
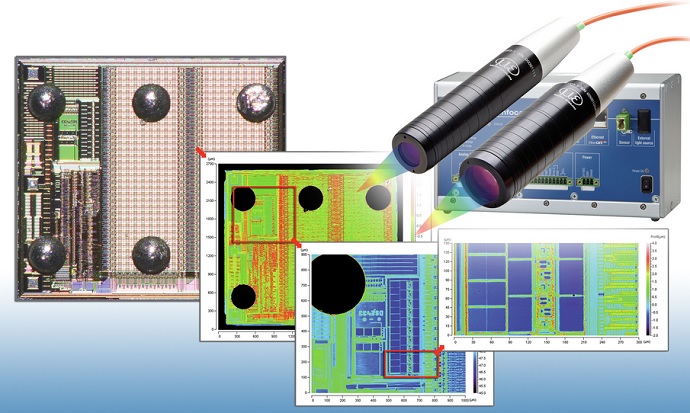
Confocal measuring principle
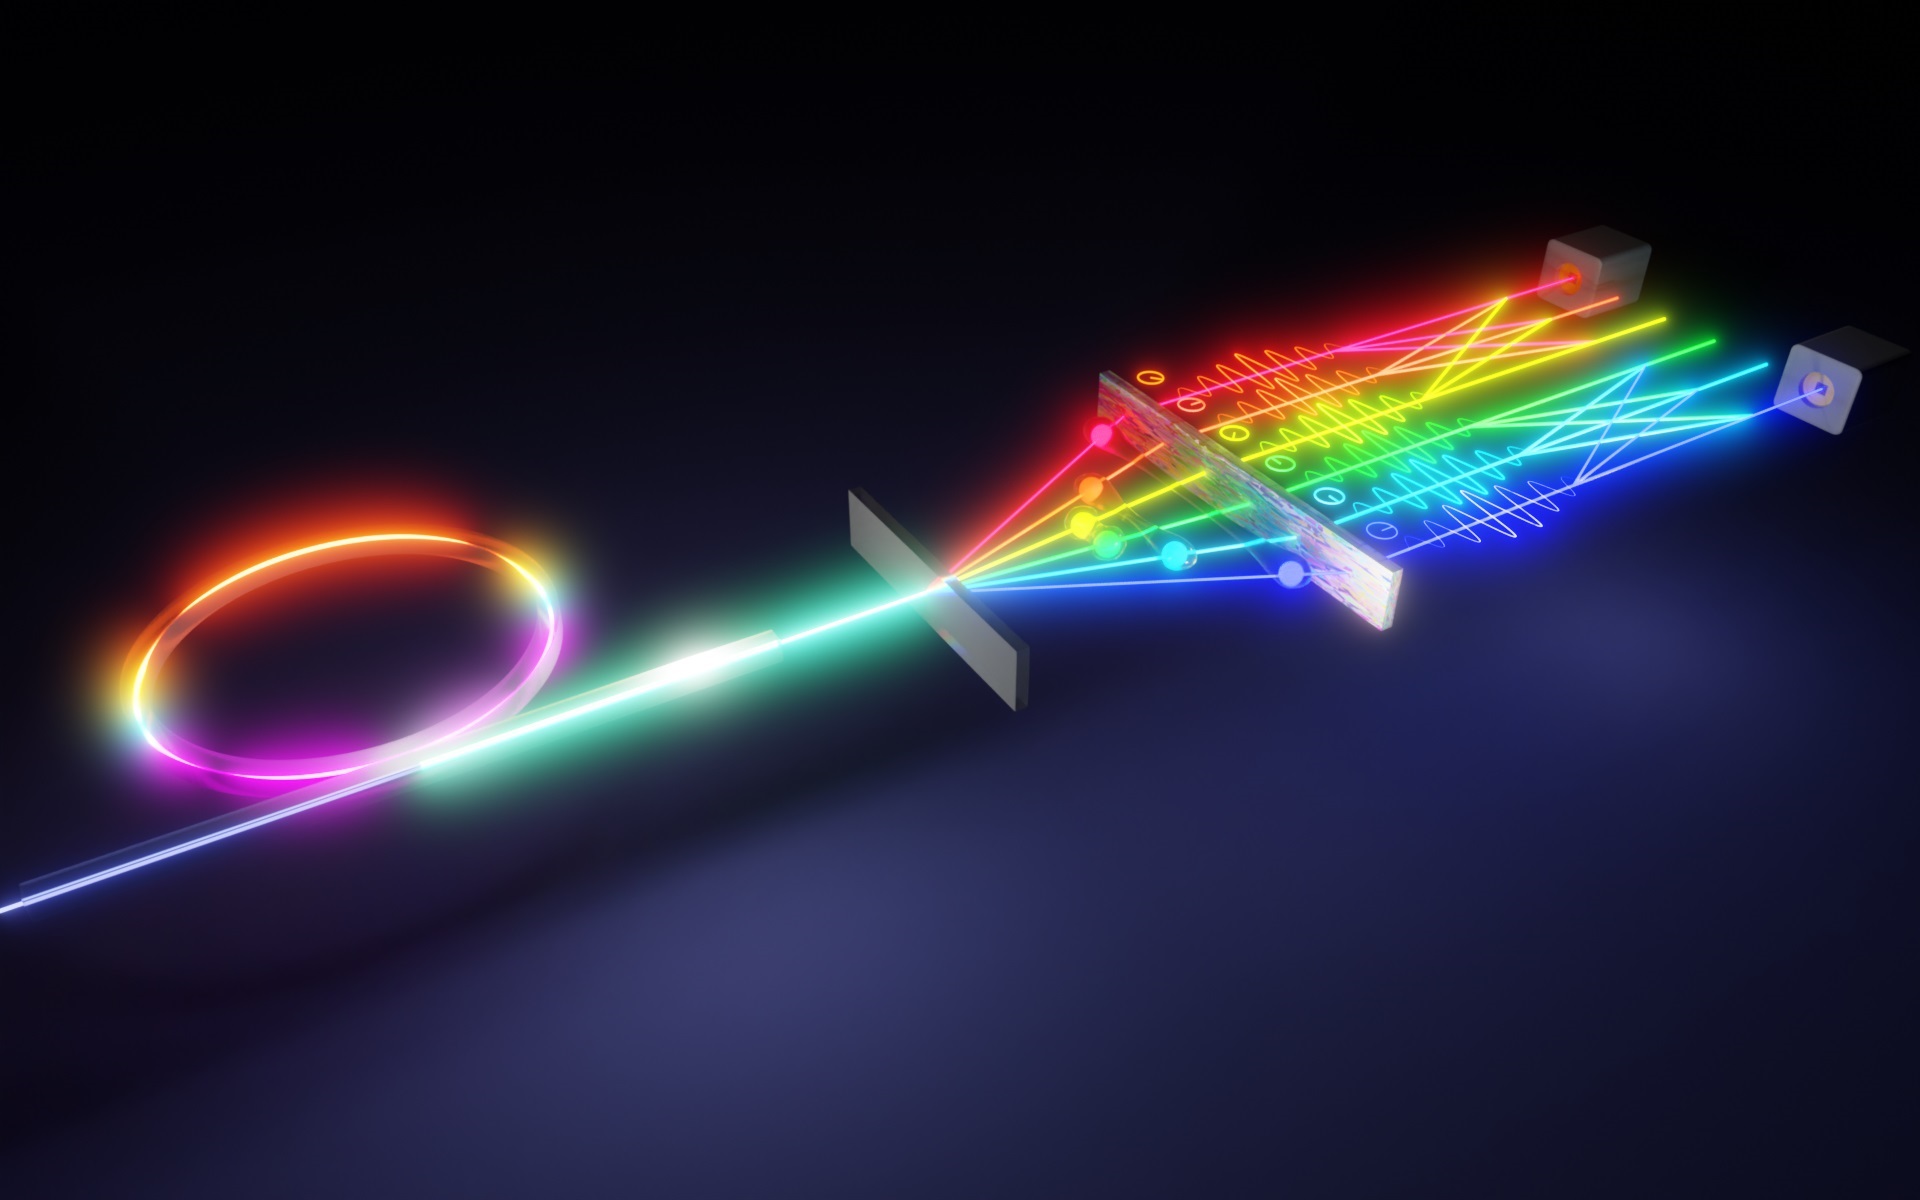
The confocal chromatic measuring principle works by focusing polychromatic white light onto the target surface using a multi-lens optical system. The lenses are arranged in such a way that the white light is dispersed into a monochromatic light by controlled chromatic deviation (aberration). A certain deviation (specific distance) is assigned to each wavelength by a factory calibration. Only the wavelength that is exactly focussed on the target surface or material is used for the measurement. This light reflected from the target surface is passed through a confocal aperture onto a spectrometer, which detects and processes the spectral changes.
Confocal measurement offers nanometre resolutions and operates almost independently of the target material. A very small, constant spot size, typically <10 µm, through the measurement range of the sensor is achieved. Miniature radial and axial confocal versions are available for measuring the internal surfaces of drilled or bored holes, as well as the measurement of narrow apertures, small gaps and cavities.
Powerful controllers
Traditionally, most confocal controllers perform poorly when trying to compensate for difficult and changing surface conditions, particularly in high speed surface scanning tasks. However, the confocalDT 2451 and 2471 controllers from Micro-Epsilon use newly developed software algorithms based on the company’s experience in optical laser sensor design. These algorithms enable the new controllers to compensate in real time, giving users the ability to scan surfaces very rapidly and at high resolution. The controllers also provide high speed triggering interfaces that allows synchronisation with encoders and other motion control devices. The result is a controller that provides more stable, higher accuracy measurements, down to nanometre resolution if required.
These controllers have a rugged industrial design and use a high performance spectrometer as the measurement detector. The confocalDT 2451, for example, utilises a white LED as the light source, which enables measuring rates up to 10kHz. The confocalDT 2471 provides up to 70KHz measuring rate using an external Xenon light source. Both controllers are provided with Ethernet, EtherCAT, RS422 and analogue output interfaces.
Related sensors and products
Thermal Imaging Camera with high (VGA) resolution: thermoIMAGER TIM 640
Confocal sensors for displacement, position, thickness

