October 23, 2014
“Made by Stihl” is a worldwide byword for top-quality products and processes. With core areas of expertise in the development, manufacture and sale of power saws and power appliances, the company’s name is synonymous with superior technology and reliability in operation.
FRAMOS is making a valuable contribution to optimising products and improving efficiency in production with a new quality assurance solution for pistons that are installed in numerous Stihl products. A key component for pistons is the retaining ring, which keeps the piston pin in position – on one or both sides, depending on the design. With the usual assembly method these retaining rings are inserted automatically, however, faults can occur in this process preventing the piston from functioning correctly. The test method employed to date makes use of a mechanical probe that checks the retaining ring for resistance, however, this technique has not proven to be sufficiently reliable.
Traditional optical inspection methods illuminate the relevant area of the piston and examine the resulting reflections on the ring and its surroundings. However, this method is also prone to errors and the reliability of measurements is heavily dependent on constant ambient lighting, any irregularities leading to incorrect readings.
Stihl made contact with FRAMOS at a trade fair, where FRAMOS was presenting a demonstration of its quality measurement techniques. Both parties were on the lookout for a more sophisticated process and “Together, we developed a concept that initially led to a project study,” reports Dr. Simon Che’Rose, Head of Development at FRAMOS. “In this study, we tested various piston models with different geometries in the lab. One of the key challenges of this task was the diversity of the products Stihl provides to the market: a large variety of pistons must be inspected, ideally with minimum equipment changes, to keep time and costs to a minimum. Che’Rose: “Our goal was to use one optical setup with a standardised management system. And we succeeded!” One and a half years passed between the original idea and its implementation – a time of intense co-operation with Stihl, “who was also sailing on uncharted waters,” says Che’Rose.
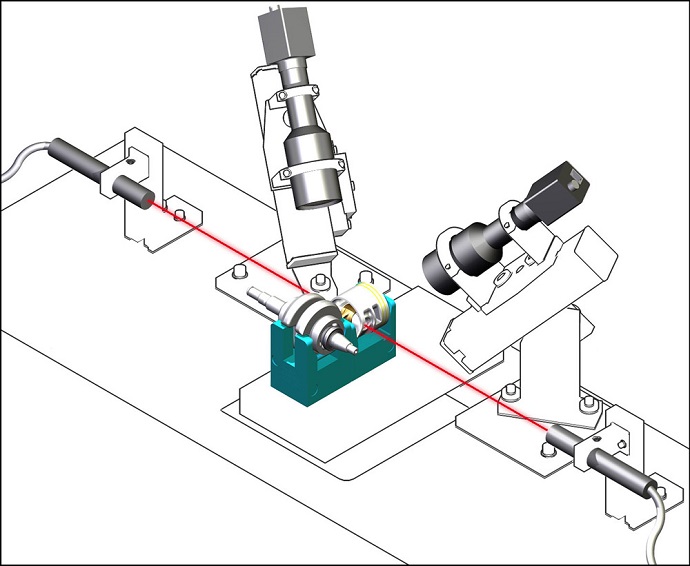
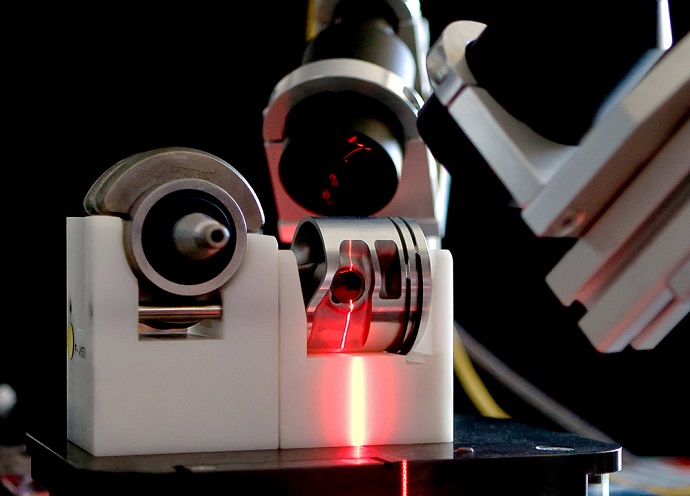
The final outcome and innovation from of this joint effort was no simple matter: FRAMOS, which boasts many years of experience in optical quality measurements and has tackled problems of this nature more than once, decided to change tack for Stihl and try something special. “We installed a structured light source above the final position of the ring,” explains Dr. Che‘Rose, who was also Project Leader. “A line laser projects its light onto the ring and its surroundings. The profile this produces is photographed by the camera and a telecentric lens. Then, by comparing this with the typical line profile, it is possible to determine precisely whether a ring is correctly positioned as planned.”
For each workpiece and operation the procedure is as follows: the integrated testing system undertakes a pattern match for the three possible states. The best match in each case provides the given state. The result is transmitted to the programmable logic controller (PLC). As pistons of different versions and geometries are fitted on Stihl’s assembly line, the optical setup has been designed to ensure that all variants can be inspected without equipment changes. The FRAMOS experts chose the “telecentric method” because pistons always have some play in their fitting. “With a standard lens, the profiles would always vary,” remarks Che’Rose, “which would not produce the desired results.”
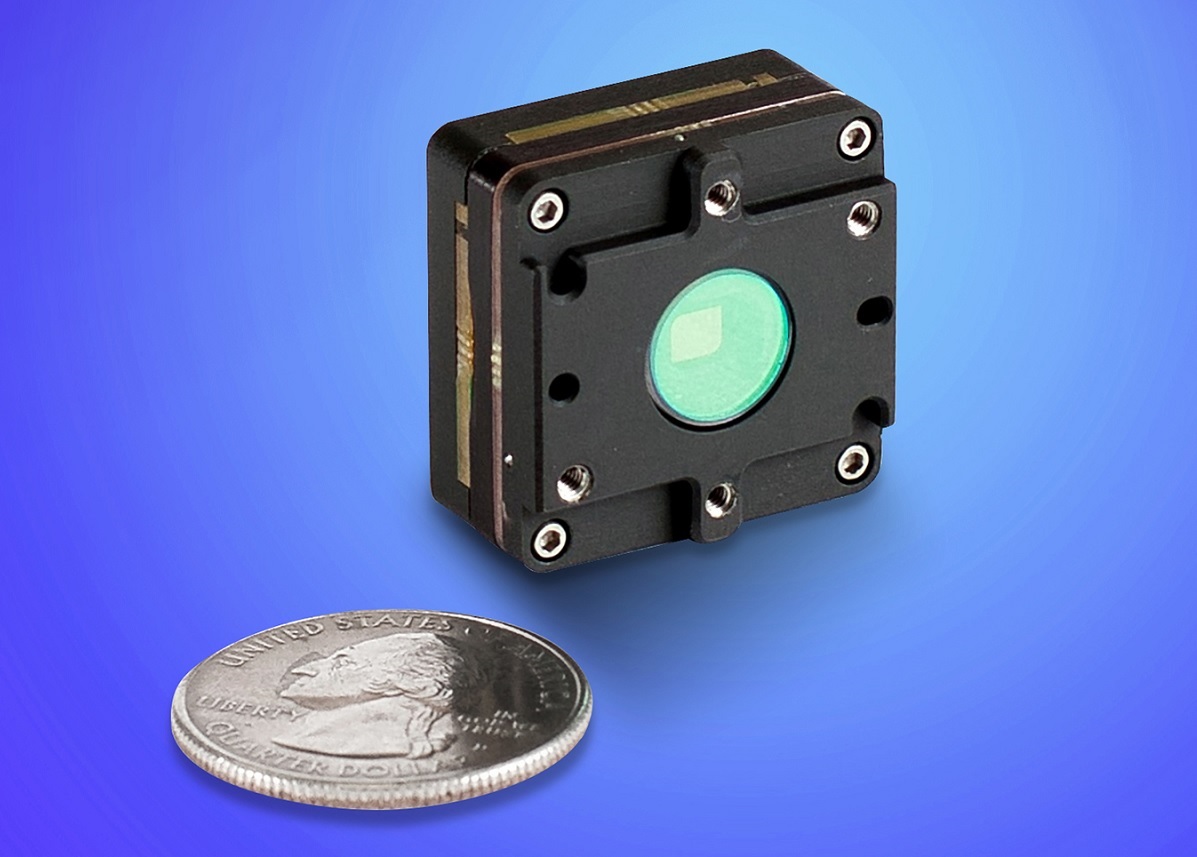
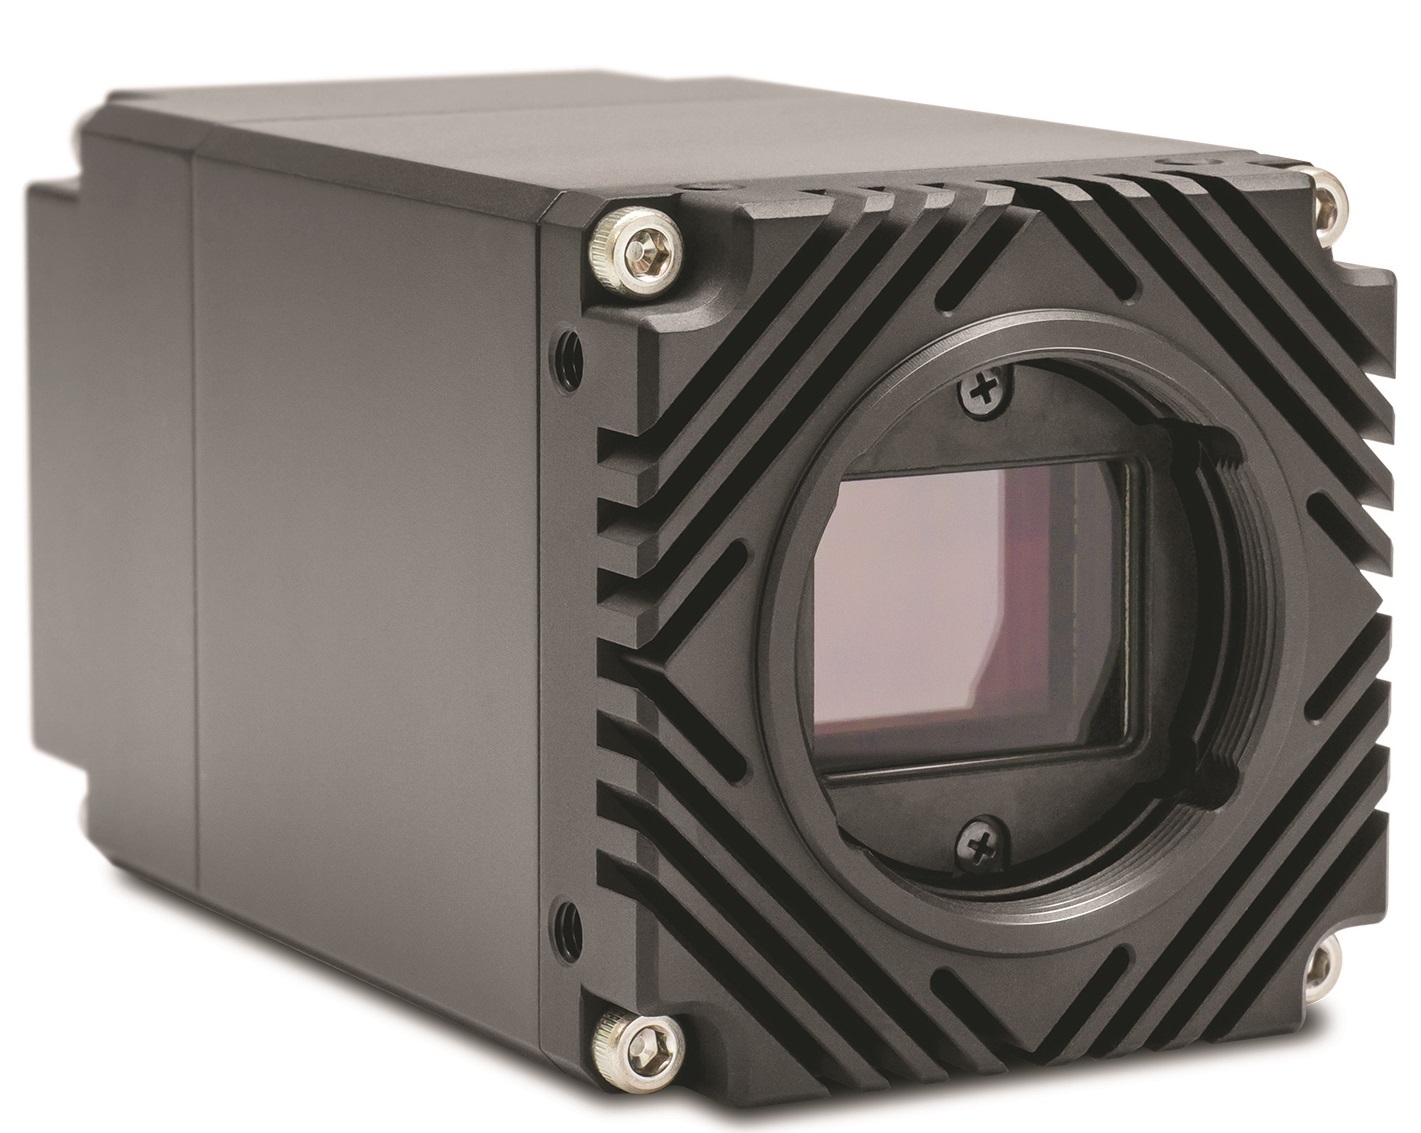
The Stihl solution uses a Class 1 line laser. Its advantages are eye safety, problem-free maintenance and easy use. The cameras used feature a Gigabit Ethernet interface. Che’Rose: “We selected a camera with megapixel resolution from SMARTEK Vision. This resolution is suitable for the desired quality – and SMARTEK Vision delivers precisely the right technology.”
The FRAMOS team have succeeded in overcoming a special challenge with the development of a setup that ensured maximum possible reliability. “We have to guarantee reliable detection that continually delivers uniform results irrespective of the ambient lighting” acknowledges Che’Rose. “We have to do this despite the play in the piston assembly, different surface finishes and geometry of the pistons and rings.”
Thanks to this standardised, individually adaptable process, so far Stihl has installed the optical quality measuring technique on one automated assembly line for different piston types. In addition, several manual assembly lines have been established. Here, there is no automatic type management; measurement is initiated by an assembly line operative.
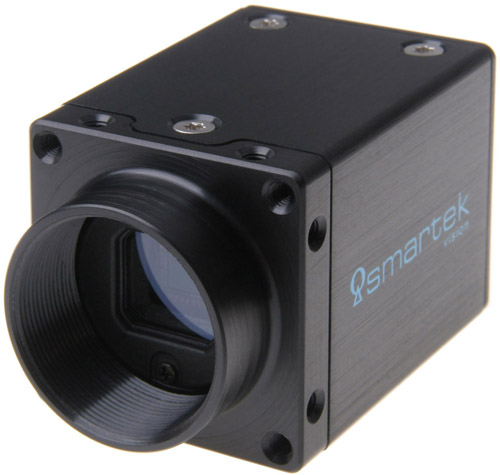
SMARTEK Vision GC1391M from the Giganetix series with Sony ICX267 monochrome CCD sensor (1.4 MP, 1392 x 1040).
Paul Giesinger, Head of Electrical Design at Stihl, is convinced that the company was right to choose the FRAMOS technique. “FRAMOS provided excellent support throughout the project, from the quotation to the final acceptance test. And during the optimisation phase the support provided was outstanding.”
At FRAMOS, Dr. Simon Che’Rose’s team is now on a mission to investigate other applications using the new process: “We now want to expand the entire system in such a way that it is also a perfect match for other piston assembly lines. The trend in quality assurance is increasingly moving towards optical testing as conventional systems are no longer capable of delivering acceptable results. The new method is now cost effective and the resulting efficiency brings a rapid pay-off,” says Che’Rose. To sum up: there are further advantages as an optical system requires considerably less maintenance than a mechanical process.
Author:
Dr. Simon Che'Rose, Head of Engineering & Solutions

