OBERKOCHEN, GERMANY – 13 May 2013
ZEISS is increasing its presence in the automobile industry following its acquisition of HGV Vosseler, a provider of optical 3D measuring technology. The small company in Öhringen, Germany, has been known as Carl Zeiss Automated Inspection (AI) since January 2013. This move transforms ZEISS into a one-stop provider for car body measurements.
"We have supplemented our portfolio of traditional measuring technology with measuring and inspection systems integrated in production. We are the only company to offer our customers a total solutions system for quality inspection in car body construction," says new Managing Director Dr. Kai-Udo Modrich. The optical systems at AI have now been complemented with inline process inspection with the objective of optimizing the quality and throughput of production lines. The checks must fulfill certain cycle time specifications of the production lines. "Until now, we did not have this exact option of measuring in production," explains Dr. Modrich.
New opportunities for carmakers
ZEISS is now able to serve the entire process chain in car body metrology. Operators in the measuring labs can make complete measurements supported by CALIGO measuring software. During the measurement, clamping systems hold the car body parts in place to ensure reproducibility of the results. Software packages such as PiWeb statistics software from ZEISS gather all measuring data. The 3D inline measuring technology then completes the portfolio for process control on production lines. The results also flow into the statistics, opening up entirely new opportunities: in the future, customers will be able to directly compare the precise measurements in the lab and the results directly from the production line. "This combination gives carmakers the opportunity to enhance their products and processes," states Dr. Modrich.
Ideal interaction between robots and image processing
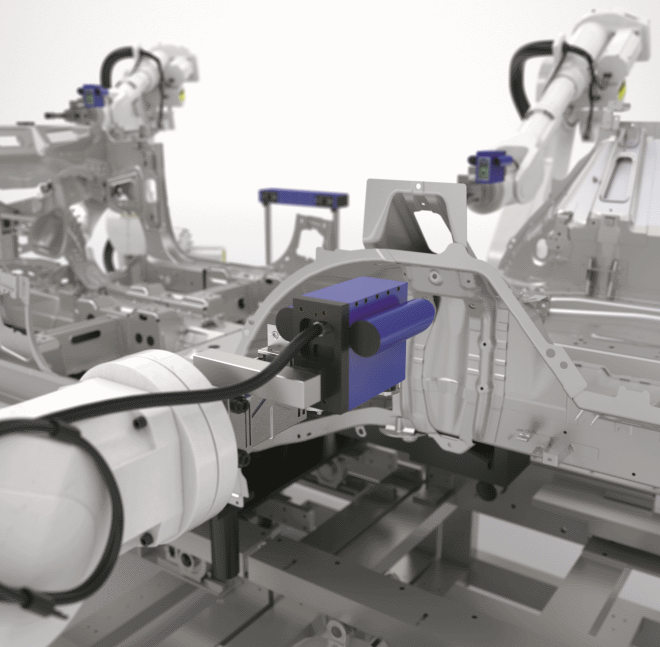
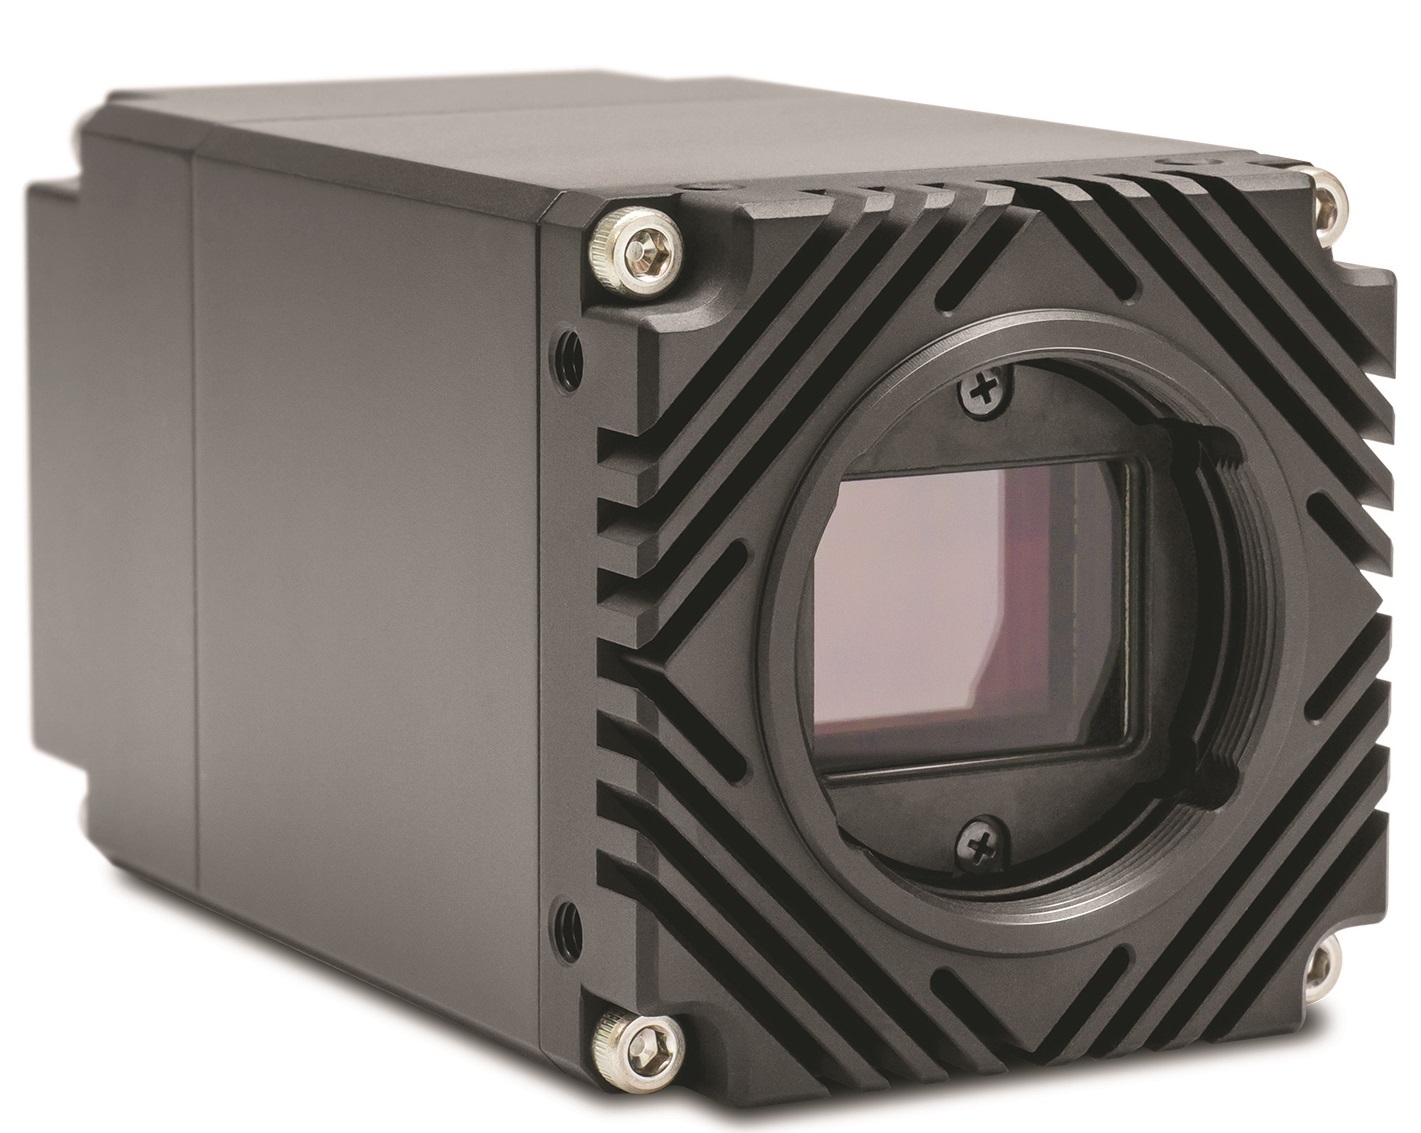
Tailored to the respective requirements of the customer, multiple measuring robots can be directly integrated into car body construction. Upon completion of a process, up to four robot systems equipped with camera sensors move to the car body parts. Within about one minute, each robot checks anywhere between 20 and 30 points on the workpiece. Multi-line triangulation sensors project five lines on the surface of the part and record an image of this view. The images show measuring features, such as slotted holes, boreholes and bolts, whose location in the vehicle coordinate system is needed to draw conclusions about the process quality of car body manufacture.
In addition to the existing know-how from the development of optical systems for our coordinate and multi-sensor measuring machines, ZEISS is now finally also an expert in image processing. According to Dr. Modrich, "Such benefits will give our product development activities new impulses and open up entirely new opportunities for our customers."

