August 05, 2014
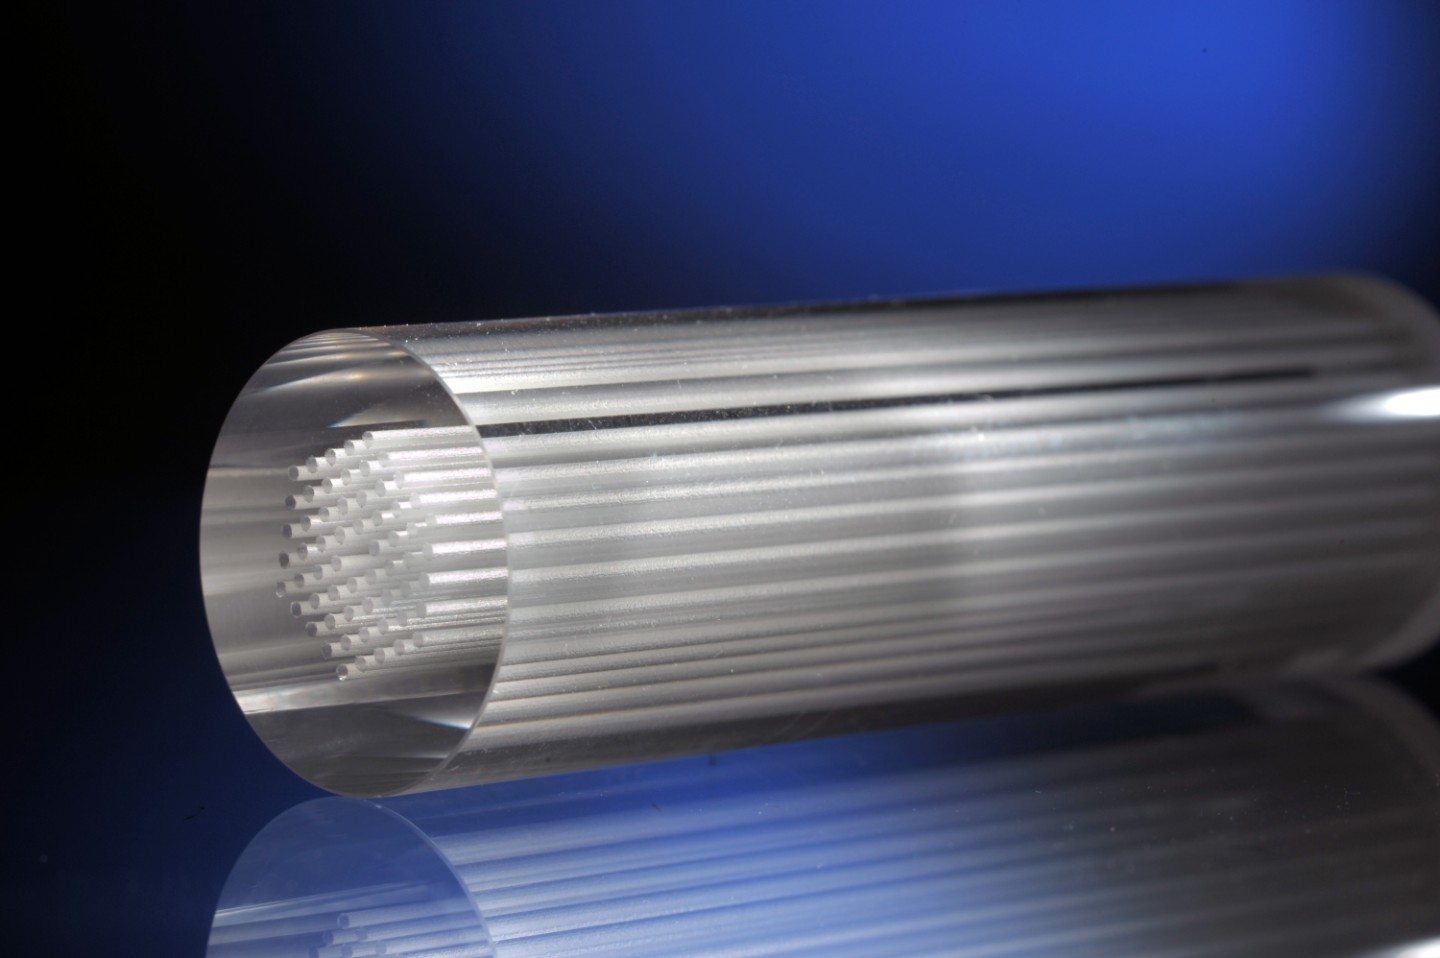
The visualization of the surface structure of cylinders in the range of microns is very work-intensive with insufficient results. The interesting characteristics of the surface are scratches, cavities and scoring marcs, carbonization and corrosion as well as polished areas and glossy spots. Common methods like cylinder photography need special cameras and objectives. The objectives need to be adapted to the curvature of the surface.
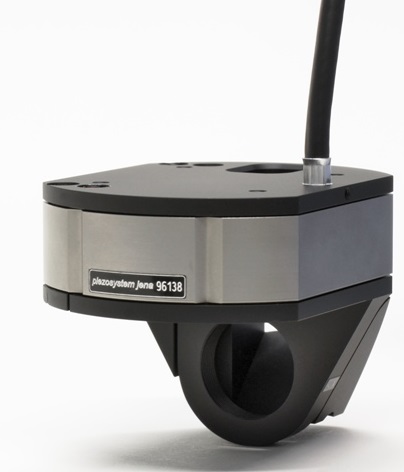
With the ZylScan-System of Breitmeier Messtechnik GmbH all established cylinder diameters of passenger cars and utility vehicles can be checked without special equipment. One of the core components of the construction is the cylinder scanning system as an OEM solution offered by piezosystem jena. It is used to hold and focus the objective. With a controlled focusing range of 200 microns and a resolution of 5 nanometers the cylinder scanning system is well suited for this and many other applications. The approved rhomboid principle of piezosystem jena guarantees an accurate parallel motion and it reduces the influence at the optical axis. Due to the integrated measurement system a high-precision positioning of the objective could be achieved.
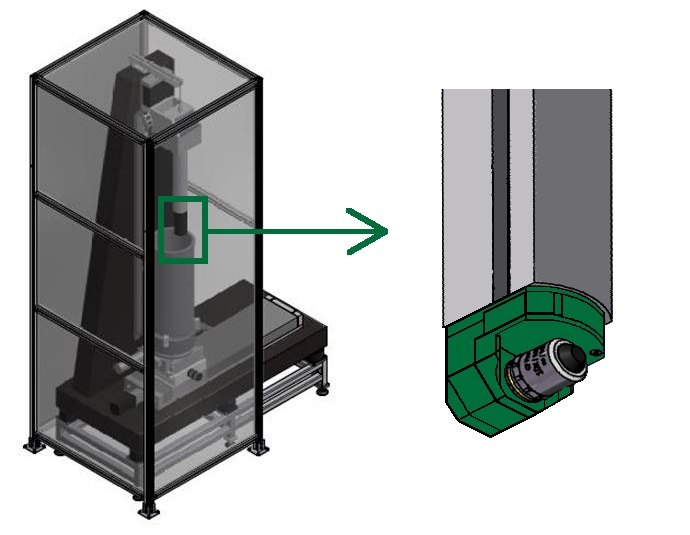
Construction from the Breitmeier Messtechnik GmbH Company. Right: sensor head of the construction within the cylinder scanning system offered by piezosystem jena (green)
Design characteristics:
- Motion 200 µm (closed loop/ with measurement system)
- Resolution 5 nm (closed loop/ with measurement system)
- High resonant frequency 250 Hz @ 80 g/0.18 lb
- Extremely low rise times
- Several deflection angles
- Flex-adapters for all standard microscope threads
- Flex-adapter for nosepieces
- Considerable accessories
For additional information in piezo technologies, especially concerning the nanoX240 SG, please visit www.piezosystem.com.

